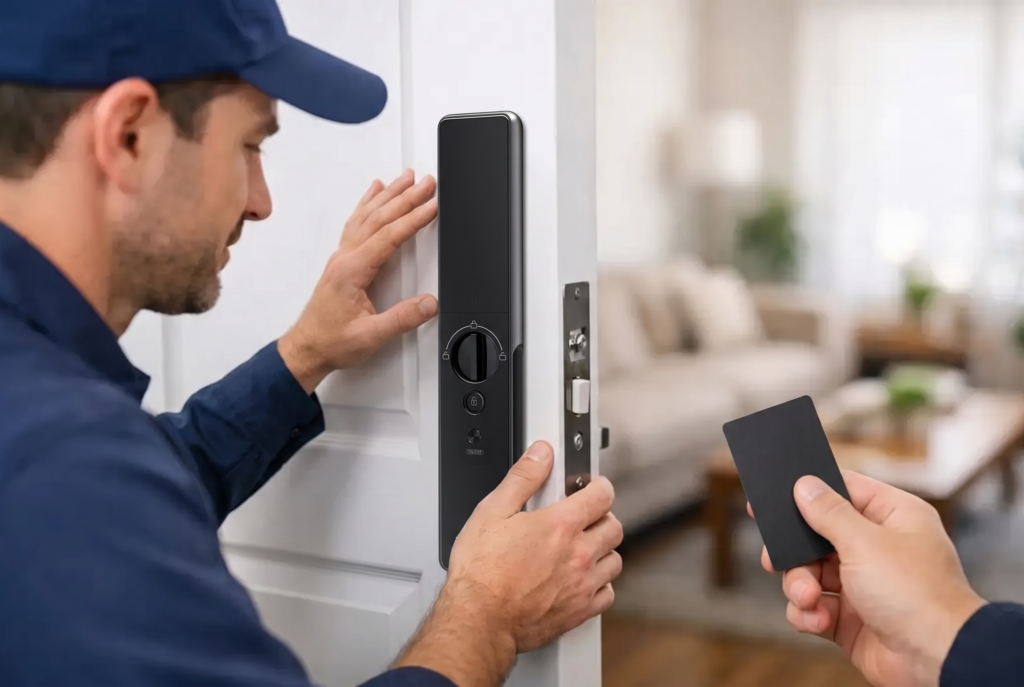
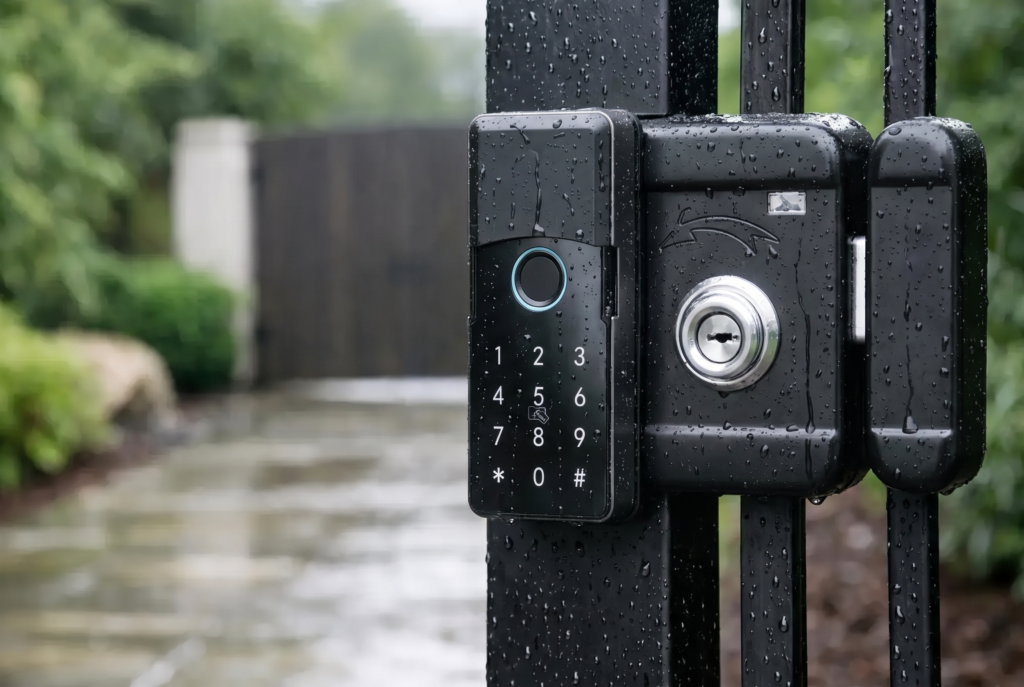
A mortise lock is only as secure as its fit. Even a premium smart lock with fingerprint access, PIN codes, and app control can feel unreliable if the lock body is loose inside the door or the strike plate is out of alignment. Learning how to install a mortise lock starts with recognizing that this is a precision job, not simply a matter of swapping hardware.
For a standard mechanical mortise lock, an experienced DIY homeowner may be comfortable completing the work. For a smart mortise lock, especially one with biometric readers, cable connections, and motorized components, professional installation is often the better choice. The right approach depends on your door material, its existing cutouts, the lock model, and how much room there is around the frame.
Check Your Door Before Installing a Mortise Lock
A mortise lock sits inside a deep pocket cut into the edge of the door. That internal pocket is what separates it from a surface-mounted deadbolt or tubular latch. Before buying or fitting a lock, confirm that your door can support the required mortise size without weakening the door structure.
Start by measuring the door thickness. Many residential locks are designed for common door thicknesses, but smart lock models may have specific requirements for both the door and the clearance between the door edge, handle position, and frame. Measure the backset as well, which is the distance from the door edge to the center of the handle or key cylinder opening.
Also inspect the existing door preparation. Replacing an old mortise lock is generally more straightforward when the new lock body is close to the same height, depth, and backset. Installing a completely different model may require enlarging openings, filling old holes, or refinishing the door. On a fire-rated, metal, glass, or reinforced entry door, do not modify the door without confirming manufacturer requirements and local building rules.
For a connected lock, check the direction the door swings and identify whether it is left- or right-handed. Some models can be configured for either handing, while others require a specific version or a component adjustment before installation.
Tools You Will Need
Mortise lock installation requires careful cutting and drilling. Gather your tools before removing the old lock so the door is not left unsecured for longer than necessary.
- Tape measure, pencil, combination square, and masking tape
- Drill with appropriate wood, metal, or hole-saw bits for your door
- Sharp chisel and mallet for wood-door mortises
- Screwdrivers and an adjustable wrench
- Utility knife and safety glasses
- The lock template, installation guide, and all supplied screws
A router with a mortising jig can make a cleaner pocket in a timber door, particularly for a new installation. However, it is not essential if you work slowly with a drill and chisel. For a steel security door, use tools and bits specified for metal, and consider engaging a qualified installer. Forcing the wrong bit through a metal skin can damage the finish and compromise the door.
How to Install a Mortise Lock Step by Step
Mark the centerline accurately
Open the door and place masking tape along the edge where the lock body will sit. Use the supplied template rather than relying on measurements from another lock, as handle spacing, spindle positions, and cable routes vary by model.
Mark the lock centerline across the door edge and continue it onto both door faces with a square. This line keeps the exterior and interior assemblies aligned. Then mark the top and bottom of the lock case, the handle spindle opening, cylinder or keyhole opening where applicable, and any mounting holes.
Measure twice before drilling. A handle opening that is a few millimeters off center may still allow the hardware to mount, but it can create friction in the spindle or leave the trim visibly crooked.
Cut the mortise pocket
Drill a series of overlapping holes within the marked outline on the door edge. Keep the drill straight and stop at the required depth. Do not drill all the way through the door.
Use a sharp chisel to remove the material between the holes and square the corners. Test-fit the lock body repeatedly instead of trying to cut the final size in one pass. The case should slide into the pocket without force, sit flush with the door edge, and remain stable without excessive side-to-side movement.
A pocket that is too tight can pinch the lock case and affect the movement of the latch or deadbolt. A pocket that is too loose can make the lock feel unstable, even after the faceplate screws are installed. Small adjustments are normal. Large gaps are not.
Drill the face openings
With the lock body seated in the mortise, use its openings as a final reference for the handle spindle, cylinder, and mounting points. Drill halfway through from one side of the door, then complete the hole from the opposite side. This prevents splintering on wood doors and produces a cleaner finish around visible hardware.
For smart mortise locks, follow the guide closely for cable openings. Electronic cables should pass through a smooth, correctly sized hole. Do not pinch, stretch, sharply bend, or route a cable across a moving latch component.
Secure the lock body and faceplate
Install the mortise case, then fasten the faceplate using the supplied screws. Confirm that the latch extends and retracts freely when operated by hand. If the bolt drags against the pocket or the faceplate does not sit flat, remove the case and correct the fit before proceeding.
Install the exterior assembly next, feeding any connecting cable through the door as directed. Hold the interior assembly in place while connecting the cable and fitting the spindle. Tighten mounting screws evenly. Over-tightening can distort the trim, bind the handle, or damage electronic components.
Once mounted, test the handle several times with the door open. It should return smoothly to its resting position, and the latch should fully retract every time.
Fit and align the strike plate
The strike plate on the frame determines whether the door closes cleanly and locks securely. Close the door gently and observe where the latch contacts the frame. Transfer that position to the frame, then cut or adjust the strike recess so the latch and deadbolt enter without rubbing.
This step deserves patience. A smart mortise lock may alert you when the door is not fully closed, but no electronic feature can compensate for a poorly aligned strike. If you have to lift, pull, or push the door firmly to engage the lock, adjust the strike plate rather than forcing the motor or bolt.
With the door closed, operate the latch, deadbolt, handle, and any mechanical key override. Test from both sides. The deadbolt should extend fully into the frame, and the door should remain secure without pressure on the handle.
Set Up Smart Features Only After Mechanical Testing
For a smart mortise lock, install fresh batteries only after the mechanical components work correctly. Complete the initial setup with the door open. Register administrator credentials first, then add fingerprints, PIN codes, cards, or app access according to the lock instructions.
Test each access method while the door remains open. Confirm that the handle, latch, and motorized locking action respond consistently. If the lock supports auto-locking, set a delay that suits your household routine. A short delay provides added protection, while a slightly longer delay can be more practical when family members are carrying groceries, managing children, or moving between a gate and main door.
Avoid sharing administrator access broadly. Create separate user credentials for family members, household help, tenants, or temporary visitors whenever the lock supports it. This makes access easier to manage later without changing everyone’s code or re-registering all fingerprints.
When Professional Installation Is Worth It
A correctly installed mortise lock protects the door, the hardware, and the people relying on it every day. Professional fitting is especially worthwhile when you are installing on a metal or fire-rated door, replacing an incompatible lock footprint, adding a smart biometric model, or dealing with a misaligned frame.
Genesis Singapore supports homeowners with smart-lock selection, installation, and local after-sales care because the final fit matters as much as the technology itself. A precise installation helps fingerprint access, app controls, mechanical backup entry, and automatic locking work as intended from day one.
After installation, keep the strike plate screws tight, clean the fingerprint sensor gently, and replace batteries before they run low. The best mortise lock installation is one you stop thinking about: the door closes cleanly, entry feels effortless, and your home remains protected every time you leave.